
Here's a riddle:
What is better than sewing on a winter weekend afternoon?
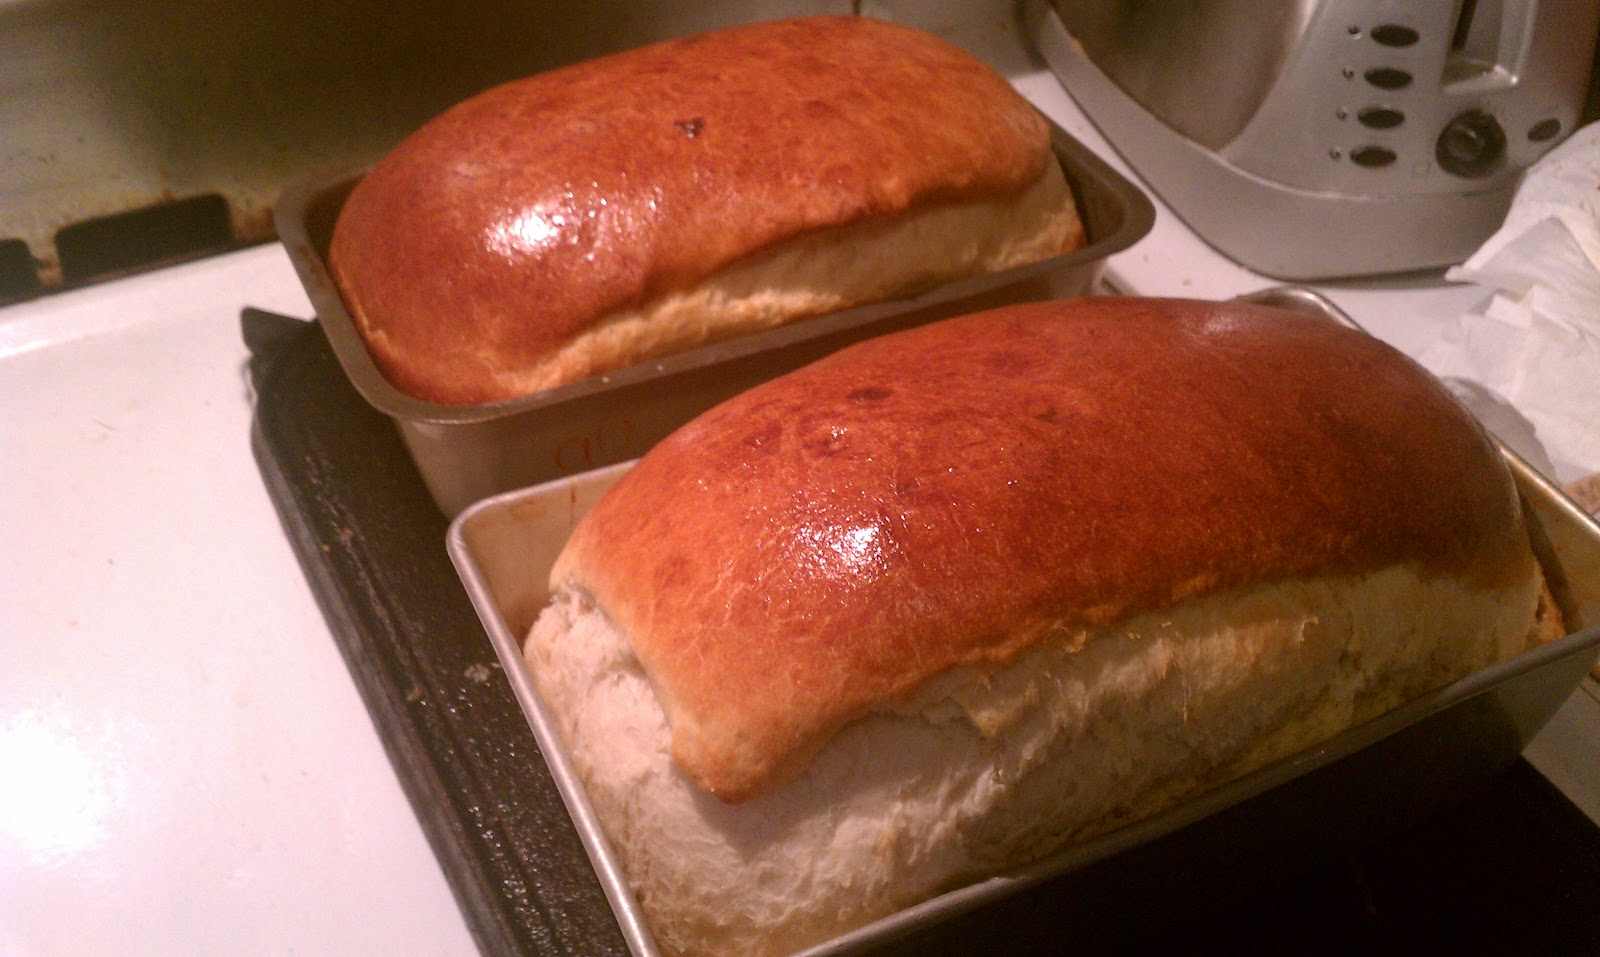
The answer, of course, is sewing while homemade bread bakes in the oven!
While this bread was baking, I made, not one, but two cute skirts for Joanna. She had seen Michael Miller's Groovy Guitar fabric and wanted a skirt. I was more than happy to oblige, but hesitant because she can be a little bit picky about fit (she's 11, so this is no surprise - it's only going to get worse). So, I started by making a skirt from Dena Designs Kumari Garden Holiday fabric before cutting into the Groovy Guitars. My first skirt was deemed acceptable, so the second is very similar. We got both fabrics at the lovely Sew to Speak!
This is the Kumari Garden Holiday skirt:

Now here's Joanna wearing her coveted Groovy Guitar skirt - I asked her to pose and she responded with something like "Aww, Mom, do I have to?"

Then, because she's a sweetheart, she posed for me:

In retrospect, I think past efforts have been over-complicated. In the past, I've tried to teach Joanna the importance of patterns, etc. Ignoring my own advice, I didn't use a pattern for these skirts. In fact, both were ridiculously simple. Here's what I did:
- I used a yard of fabric for each skirt and cut two rectangles - 44"x18" each. If you want this skirt for yourself, you may have to play with the measurements a little - we can't all be skinny 11 year-olds with long legs. To modify, cut your rectangles so that each one measures twice your waist measurement by (the length you want + 2). So if I have a 34" waist and I want a skirt that is 25" long, I'll have to cut two rectangles that are about 68" x 27" (You could probably get away with measuring only 55" or 60" for the waist, though. Your skirt will just be a little less full if you choose to cut a shorter piece).
- Right sides together, sew the short sides and finish the seams. I used french seams for a neat look.
- Press the seams.
- Hem the bottom edge of the skirt - Fold and press the bottom edge 1/4" then again 1/2". After pressing the hem, sew 1/8" from the fold.
- At the top of the skirt, fold the edge down 1/4" and press, then fold 1 1/8" and press. Sew almost all the way around the pressed fold, about 1/8" from the edge. Leave a 2" opening to insert elastic.
- Measure a piece of elastic that equals your waist measurement + 1".
- Using a safety pin, guide elastic through the casing that you have sewn, making sure you don't twist.
- Sew ends of elastic together.
- Finish sewing around the bottom of the casing.

And that's it! Alternatively, you could complete step 4 last, if you want to try the skirt on before hemming. I find it a little easier to hem before it is all bunched up by the elastic, but it isn't a big deal. On the Kumari Holiday skirt, I hemmed last, and on the Groovy Guitar skirt, I hemmed before inserting elastic. Whatever works best for you.

And there you go - two completely easy skirts that fit her perfectly, without the hassle of using a pattern. And Better yet, I ate warm slices of freshly baked bread while I made them!
No comments:
Post a Comment