Thursday, May 31, 2012

'Sewing for Boys' May Sew-along

I can't believe how quickly May has gotten away from me.  School is ending, the sun is shining, and I very nearly didn't finish the May 'Sewing for Boys' Sew-along.  I pulled it together just in time.

I abso-freakin'-lutely  love the Mimi's boy suspender shorts, but they are too little for my Josh.  So, I settled for making the hat and belt combo - I may make some suspender shorts for my nephew in the not-too-distant future (he is only 4 months old, so he is still too little for them!).

Let's start with the positive, shall we?  Josh loves his Going Fishing Hat!


The unfinished look of the hat was a good thing for me, since I was rushing a bit to finish.  I used two woven fabrics - Alexander Henry Osteology and a Lotta Jansdotter print.  I wish the hat was just a bit bigger on him, but it will fit for the summer, which is the important thing.  I'll have to say, I didn't follow the directions very closely - I cut out the pattern, skimmed the instructions, then sewed up the hat a couple days later without looking at the directions again.  Josh likes hats, so I hope he'll get a lot of wear out of this one.  Too bad he can't wear this hat and his bike helmet at the same time!


Now the not-so-fantastic.  I felt that the Hold 'Em Up Belt didn't come together as well as it could have.  The thing that seemed most problematic was the length that was suggested in the instructions - adding 6 inches to your child's waist measurement didn't seem to be enough.  Josh was wearing jean shorts when he tried it on, and it barely fit.  Perhaps it would be more helpful to measure the circumference of the pants that your child will wear the belt with, rather than his or her actual waist.  Next time I make a belt, I'll probably make it with 10 inches added to his waist measurement.  The other problem was entirely my own - I think it would be nicer with a heavier interfacing than the one I used.  Not such a big deal.  Next time I may just do a double layer of interfacing.

The final problem had very little to do with the belt - Josh was in a terrible mood and didn't want to be photographed wearing it.  So here's a picture of him starting to cry while holding it:


Poor guy!  I am planning to make another, longer, heavier version to hopefully make him happy.  Really, I don't think the belt was the problem - we had a long, tiring Memorial Day weekend.


Wednesday, May 30, 2012

Scallops and Scallops

I have been a bad, bad blogger lately.  How can it be that I haven't posted since the 22nd?  Some craziness at work and the holiday weekend made me lose track of time.  Luckily, just because I haven't been posting doesn't mean I haven't been sewing!

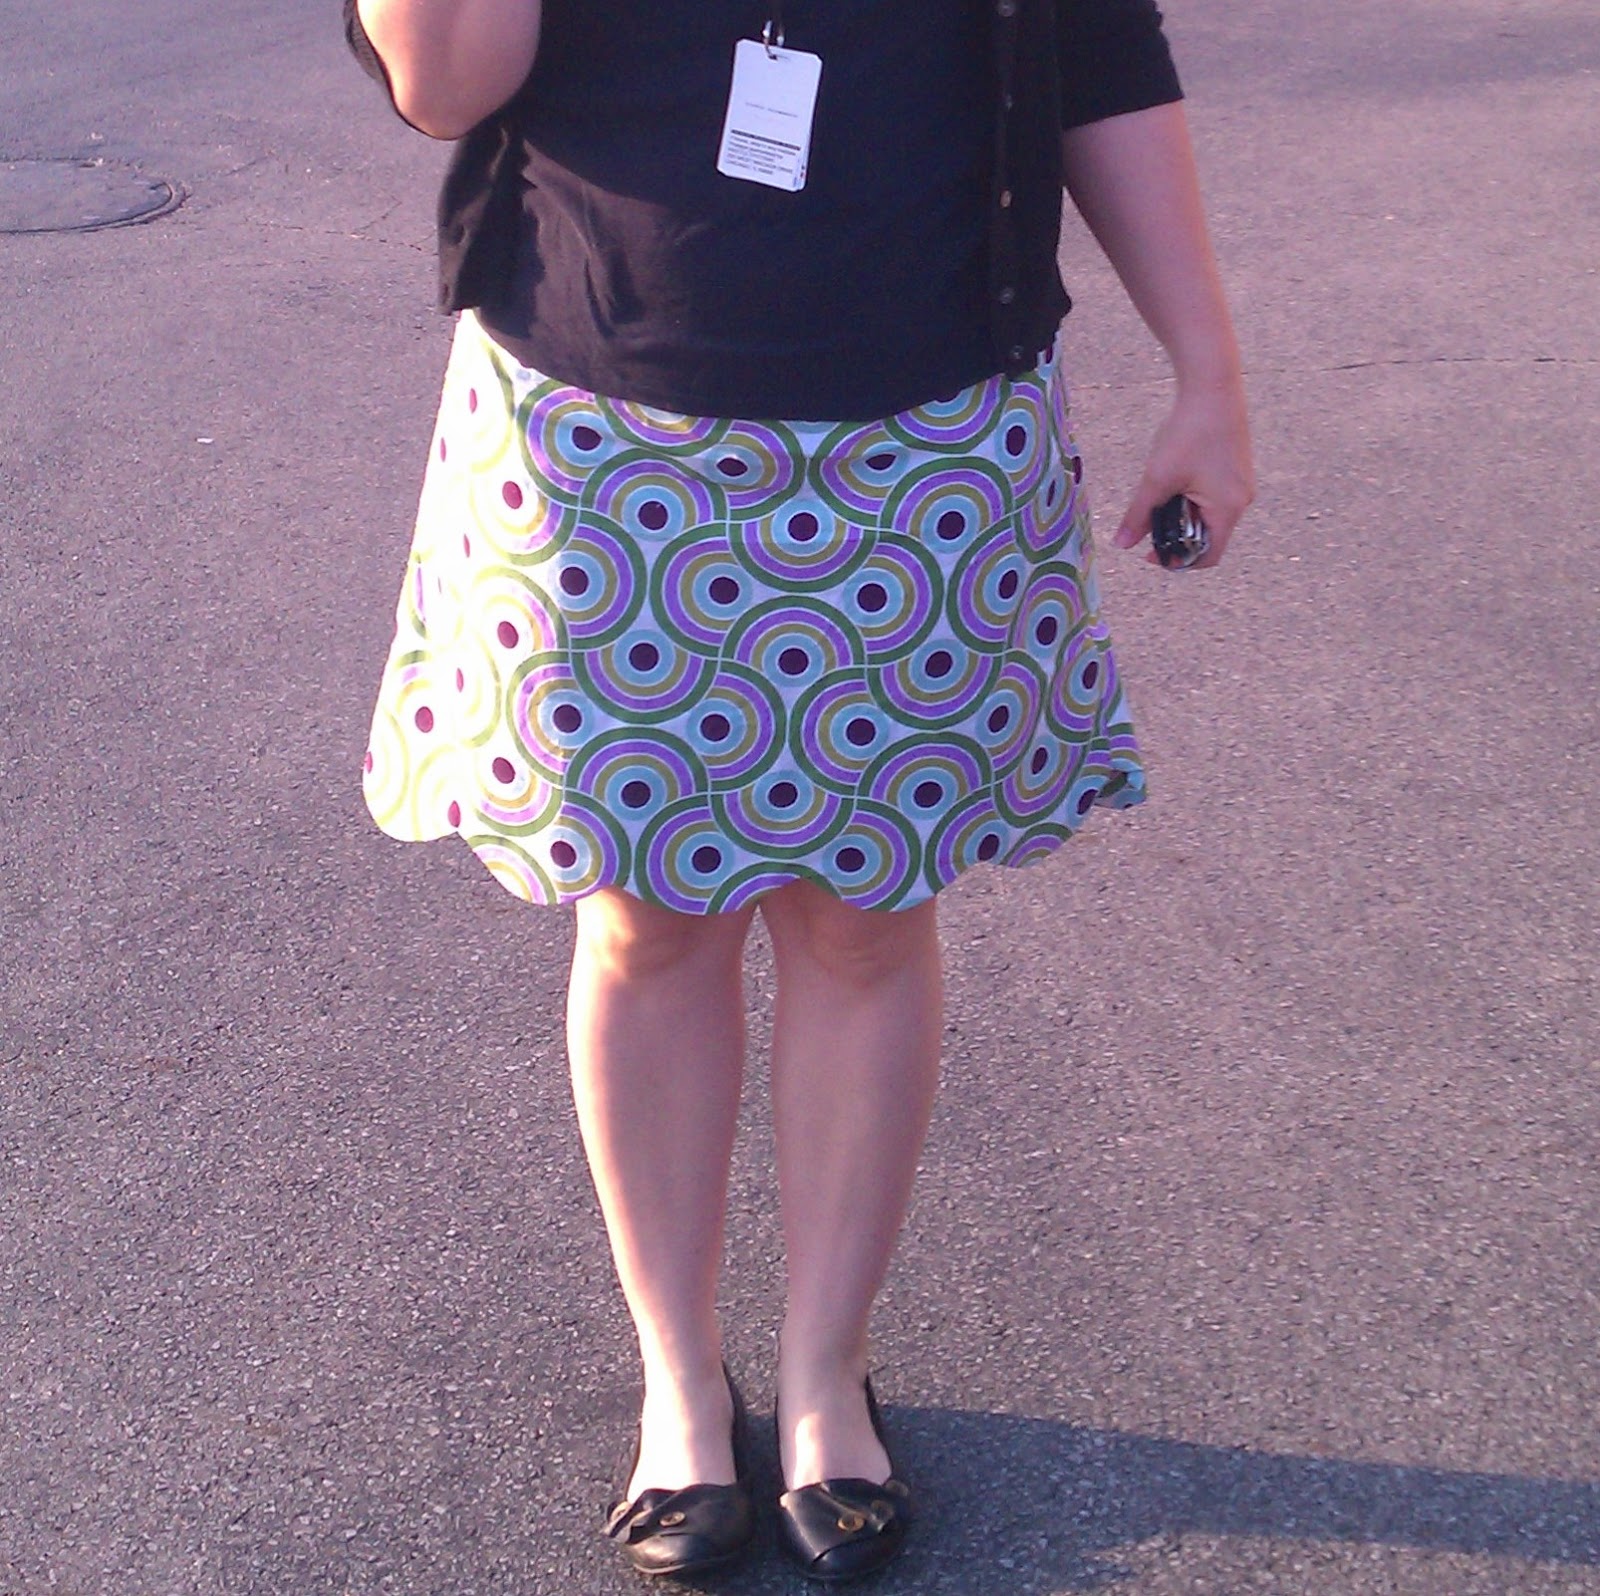
Here is my second Colette Meringue (the first was a wearable muslin, blogged here):


Can you believe it?  It's the first thing in the morning and I'm already all rumpled!  This is my fault, rather than the fabric's fault.  The fabric is a really lovely Annette Tatum Sateen that actually doesn't wrinkle much (I bought the fabric locally at Sew to Speak, but it isn't up on their website yet).  The name of this print is Scallop, so I think it is perfect for this little Scalloped hem skirt.


I didn't really make any other changes to the pattern, other than being more fastidious with my seam finishing and seam allowance clipping on this version.  I really love this pattern, so there will be a third in my near future.  After that, I promise I'll take a break from Meringues.


Tuesday, May 22, 2012

Second Serving of Sorbetto

A couple weeks ago I made this Colette Sorbetto top, and was completely thrilled with the way it turned out (though the photos leave something to be desired).  I decided pretty much immediately that there would be another Sorbetto in my future.  When I saw Robert Kaufman's London Calling Cotton Lawn fabric, I knew it would be a perfect combination.


I already wrote most of my comments about the Sorbetto in my Alligator shirt post, so I don't want to repeat myself.  The only thing I did differently here was I lengthened the hem a bit.  I just used the bottom hem from the original pattern and continued that line a few inches further.  I think this change makes it easier to wear with jeans - if I were wearing a skirt, it would probably get tucked in.


Another brief note - I was very careful to make sure the pattern was centered on the pleat.  It was easy, but the shirt wouldn't look nearly so nice if I hadn't done this - depending on the fabric, this may or may not be important for you, if you try this pattern.


Last weekend was perfect, so I got to wear my new shirt to the park with my kiddos.  A perfect afternoon!


Monday, May 21, 2012

It started as a wearable muslin...

I have some Kokka fabric that I love, and I've been planning to make a Colette Meringue skirt with it.  But it costs $22/yard, and it is SCARY to cut into fabric that is so expensive.  So, with that in mind, I did the responsible thing, and made a muslin (which I should do anyway, but don't always).  I suppose my problem with muslins is that I don't feel motivated to work on them if I know it won't be wearable - for example, I've had muslin pieces for a Peony dress cut out for several months now, and have never gotten around to sewing it.   This is the reason that I decided I would do a wearable muslin for my Meringue skirt.  I'll apologize in advance for the photos - it was so bright this morning!


Happily, this first draft turned out better than I dared hope.  For those of you who don't know, this is the first pattern in the Colette Sewing Handbook.  The book recommends using a heavy fabric that will hold its shape well, particularly the scalloped hem.  Because I just wanted to practice before sewing my actual skirt, this is made from quilting cotton - Alexander Henry's Bauhaus fabric, something I won for participating in a sew-along.  I really love the print of this fabric, but I knew that, because it was free, I wouldn't feel bad if I messed up.  Another somewhat important fabric note - the book requires 2 1/4 yards of fabric for this pattern, but I used much less - about 1 2/3 yards.  I usually try to fit my pieces together as closely as possible, and since this was a non-directional fabric, I was able to use my space pretty efficiently.  So, depending on your size, you may find that you can construct your garment with less yardage.


The Meringue is fairly simple to sew, a few darts, an invisible zipper, and carefully sewn scallops are the highlights of the instructions.  It makes sense that this pattern is at the beginning of the book - it's a really good foundation piece that is also visually interesting.  The most time consuming part of the pattern is the hand sewing that is involved.  The top of the hem facing is attached using a catch stitch - so many tiny stitches are involved!

Catch Stitches
I'll admit that sometimes I'm tempted to do things the fast way, rather than taking the time to follow directions exactly.  I'm so glad that I took the time to sew everything as directed for this pattern - the results are worth it.  If I had to do anything differently, I think I would clip the seam allowances in the bottom seam even more than I did - this will make the scallops easier to press and more beautiful to look at.  Don't misunderstand - I did clip the seam allowances, but in this case, more is better.


I don't really feel that it's right to call this skirt a muslin anymore - I really love it!  I'm hoping that I'll have time to do another Meringue in a fancier fabric in the near future.  But for now, Joanna is bugging me about making (another!) new skirt for her.  Until next time!


Monday, May 14, 2012

Josh's new PJ's

Josh has been needing a new pair of pajamas for quite some time, and I finally got around to sewing some a few days ago.  Really simple, but just perfect.  I used the Kickin' Back Sweats pattern from 'Sewing for Boys', mostly because I already had the pattern traced and cut out.  'Sewing for Boys' does have an actual Pajama pattern, but I really just wanted to use what I already had ready.


Obviously, I left off the pocket at the bottom, as I didn't really have a good contrasting fabric (or maybe I do and just don't realize), and I didn't think he needed a pocket for pajamas.  Maybe he would have appreciated one.


These pants are pretty long, I added extra length to the bottom of the pants, in the hopes that they'll still fit in the fall.  He won't usually be wearing them outside (this is an exception!), so I think it will be fine.

Look at all that money - maybe I should have included a pocket after all!


The fabric is a wonderfully soft Michael Miller Children at Play flannel.  I'm hoping that I have enough left over to make a pair of sleep shorts.  I may buy a little extra fabric and use contrasting fabric to make shorts - we'll see.  If I can get away with making shorts without buying more fabric, I'd prefer to do it that way.


Hurray for kids in pajamas!

Monday, May 7, 2012

Gypsy-Girl Dress

On Friday, when I said that I would sew my daughter's dress soon, I really did not mean that it would happen over the weekend.  However, my beautiful, lovely girl was being a real grouch about it, so I got started.  And then I got finished.


The things she seems to like about it:
  • The ruffle at the top of the bodice front.
  • The loose, summery bodice.
  • The lovely Amy Butler 'Gypsy Caravan' print
  • The stretchy waist.  This was shirred with several rows of elastic thread.

The things that required a bit more thought:
  • She wasn't sure how long she wanted the dress to be - I think this length is lovely.  She was undecided, but likes it.
  • Next time, she'll probably want the skirt to be more gathered. 


Overall, a success.  It was especially successful considering the fact that I was mostly making it up as I went.  I was going to draft my own pattern pieces, but I decided to use patterns from 'Sew What you Love' and alter them a bit.  I used the child's bodice and midriff pieces.  For the bodice, I extended the pattern a couple inches - the pattern is really designed to be lengthened depending on what is required for the project. Here are a couple bodice close-ups:

Ruffled top - this is probably the part that Joanna was most excited about.
Elastic waist!
For a better fit, I added shirring at the top of the back.  Kind of a racerback effect.
I used elastic thread to attach the bodice ruffle and shirr the top of the back.  This was so important for a good fit.  All of the children's patterns from 'Sew What you Love' require elastic thread, so the pattern pieces are designed for quite a bit of gathering.  This just happened to be perfect for what Joanna wanted.  If I did it again though, I might use one less row of elastic on the back.  Also, it's probably fairly obvious, but perhaps worth mentioning, that I used handmade bias tape instead of sleeves.  To make the bias tape, I used this method.


The midriff pattern was lengthened considerably.  Even though Joanna would have liked it to be fuller, I actually added quite a bit of width to the pattern piece.  For this dress, I just sewed the bodice to the skirt and shirred with elastic thread.  Next time, I'll cut the skirt even wider and gather with a basting stitch before sewing to the bodice.  Then I'll shirr with elastic thread.

The dress that this was modeled on actually had three ruffles at the hem as well, but Joanna wanted me to omit them.  It might be fun to try next time.  Maybe we can make a similar dress with all of the ruffles in a contrasting fabric!